
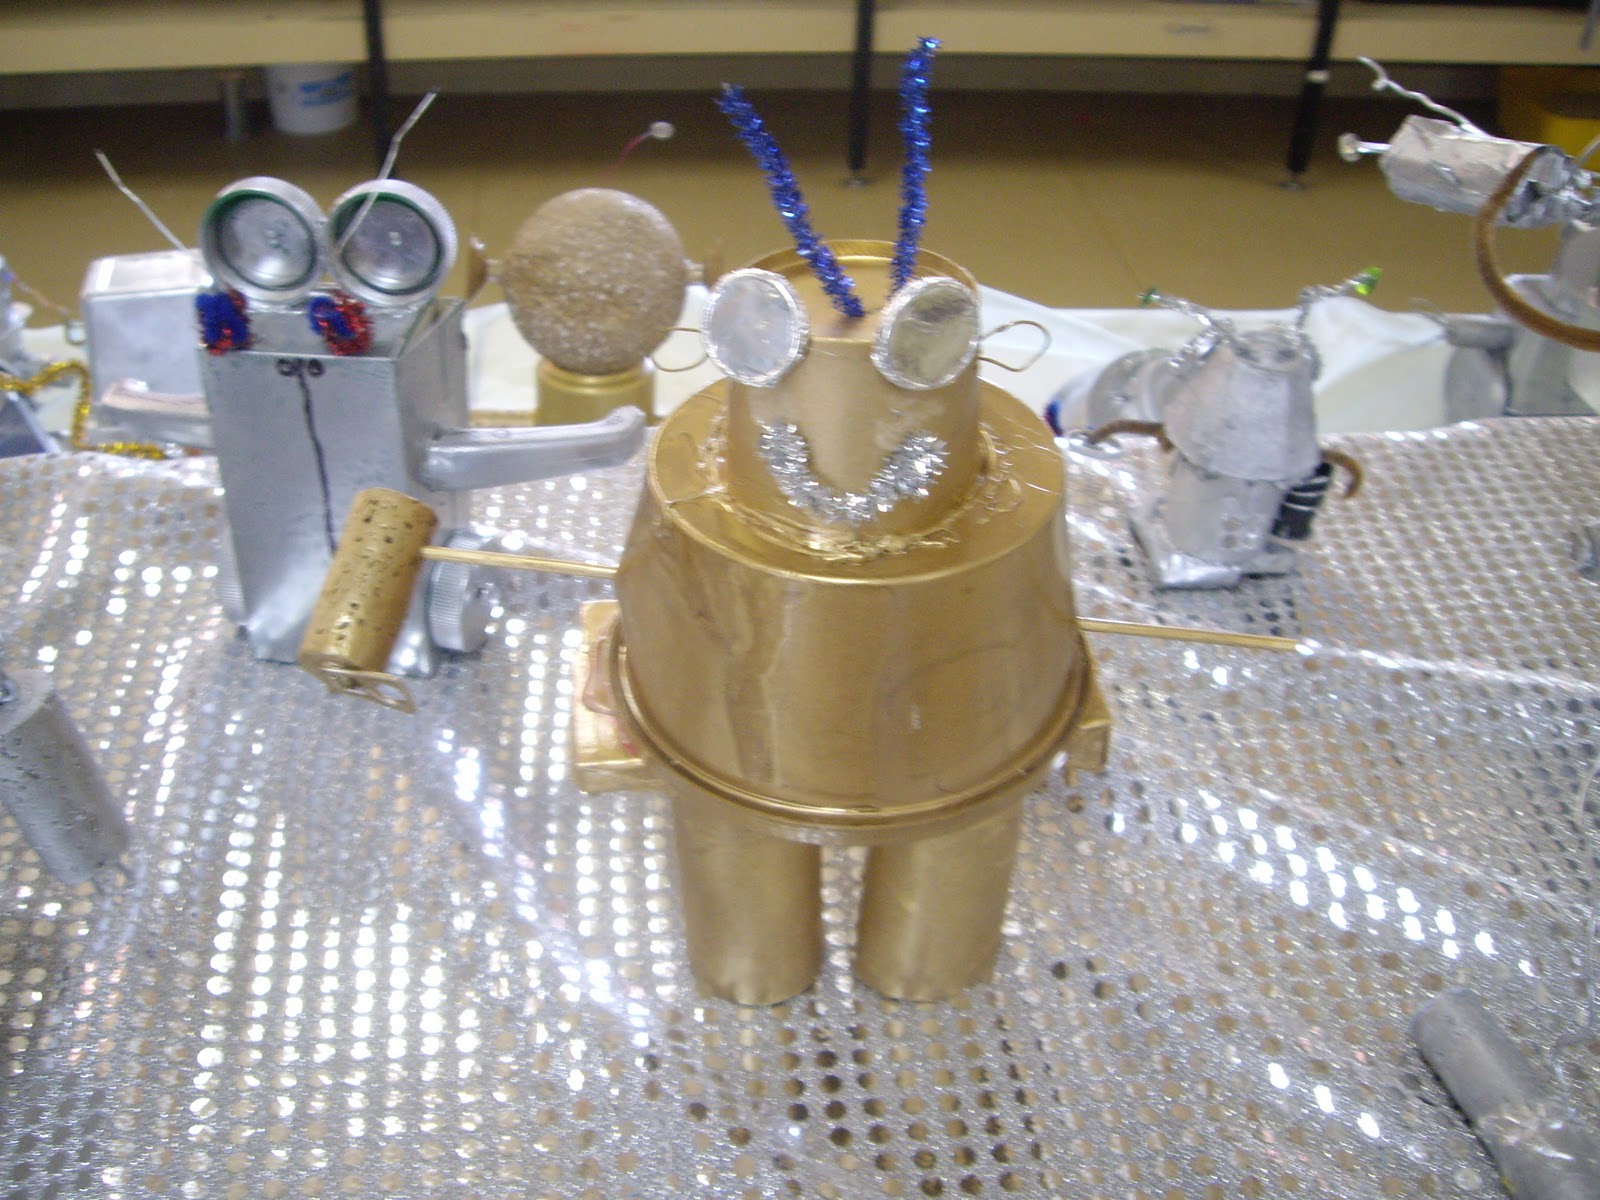
Once constructed the robots were decorated using silver and gold spray paint, glitter, sequins, wire, aluminum foil and other recycled bits and pieces.
This was a great open ended task which resulted in so many fantastic individual sculptures.
I only wish I had more photos of these!
 |
| I love this wheelchair robot! |


Love how the silver spray paint pulls them together. Since a nevelsob project a few years back I never pulled out the spray paint! They r so creative and a cool display.
ReplyDeleteAMAZING! These are so cool- I'm sure the kids had a blast inventing and making these creations! :)
ReplyDeleteThanks guys - it was fun but yes, Erica I had to do all the spray painting (too toxic for the kids) and have since resolved NEVER AGAIN :)
ReplyDeleteI am currently doing a similar project! I'm sad I found your examples AFTER we have finished ours!
ReplyDeleteHow did you make sure the students didn't put on the eyes & such BEFORE painting? I had so many of them build EVERYTHING right away, that the details & such all got painted.
Oh, and I had them paint with acrylic paint...it's stuck to everything so far! Tin cans, plastic, paper towel tubes, etc.
Thanks Jamie - From memory I think I had the kids blu-tac small details on at first and then glue them on after the painting. You must've found a really good metallic acrylic paint! What was it??
DeleteI had a few brands, but the ones that worked the best were "Apple Barrel" which is a craft type of acrylic...kind of expensive, but the coverage was good! I just got it from Wal-Mart. I also had Blickcrylic, or the Dick Blick brand acrylic silver paint. And then I also had a little bit of "Createx" silver...it was already in the art room, so I have no idea where that one came from! I'll have to try tacking the details on- I like that! Thank you!
DeleteOh, and it took two coats for sure! It could have probably used 3 coats to COVER everything, but they didn't have patience to do it again! We painted details on with a different color after the two coats.
DeleteCool - I'm in Australia, so no Walmart and probably can't get a lot of the paints you mentioned but I'll do some research - thanks for getting back to me :)
DeleteHow did the students glue these together? Hot glue? Regular glue? I saw some duct tape in there. Love the idea, just trying to find a way that all the students can be busy gluing and building instead of waiting to use the glue gun.
ReplyDeleteHi Anonymous One - from memory it was just PVA glue and masking tape and hot glue gun for anything really stubborn.
DeleteI would love it if you shared this idea on my linky party all about robots!
ReplyDeletehttp://suzyhomeschooler.com/autobots-androids-artificial-intelligence-and-other-robotics/