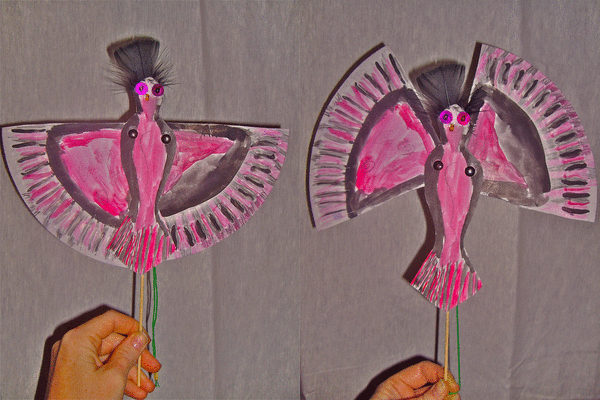
 Inspiration: The idea for these came from That Artist Woman who makes some fantastic puppets. Thanks Gail!
I gave the students a template for the bird's body (yes, one of those few occasions where I think a template is OK) which they traced onto some white card.
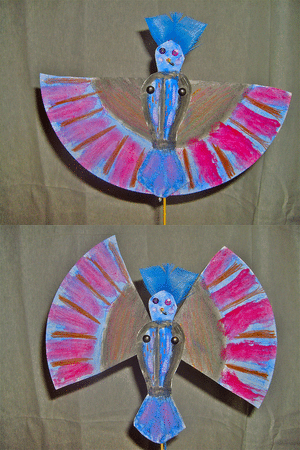
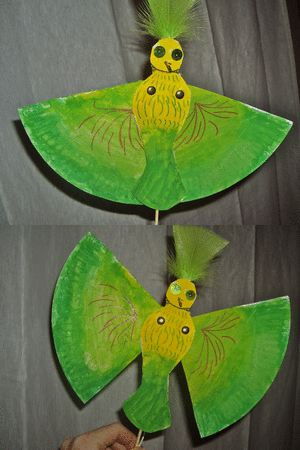
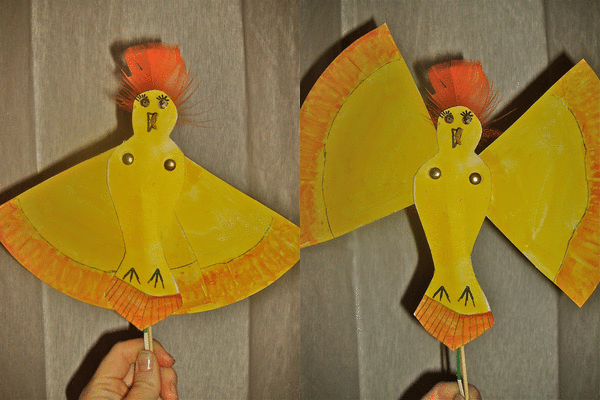
I decided to use paper plates for the wings as 2 quarter pieces of a paper plate made perfect wing shapes and the embossed edges even looked feathery.
The students decorated their bird bodies and wings with tempera paints and once dry we added a head feather and some sequins for eyes. I then helped them to use a hole punch and split pins to attach the wings.

I had the kids tape a skewer to the back of their puppet so they could hold it but the mechanism with the string had to be done by me as it was a bit complicated. (Gail goes into much more detail on her blog).
If you have a very large class or classes you may want to think twice about doing this on every puppet - but it sure looks cool when they pull the string!
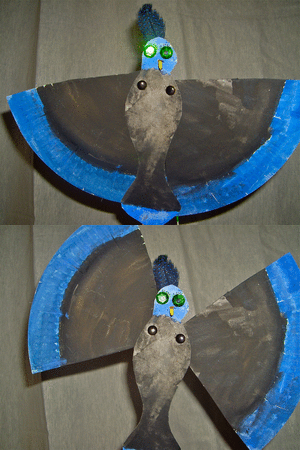
Also - This has been my 100th post on Use Your Coloured Pencils.
Glad I could make it special with some animations :)

Cool puppet, and congrats on 100 posts!
ReplyDeleteLove this, and the animation is really fun!
ReplyDeleteWell done on posting 100 times!
ReplyDeleteI like all your art lessons :)
Thanks so much for the link Anne and your birds turned out great. Love the animation! You'll have to teach me that trick.
ReplyDeleteCongratulations on your 100th post!
These are going directly into the OMG file! I love anything animated. I'm going directly to Gail's page to see how it works.
ReplyDeleteThanks so much for the Versatile Blogger Award Anne.
Absolutely inspiring!!
ReplyDeleteThese are just fun!!!! :)
ReplyDelete