Showing posts with label collage. Show all posts

Jul 9, 2017

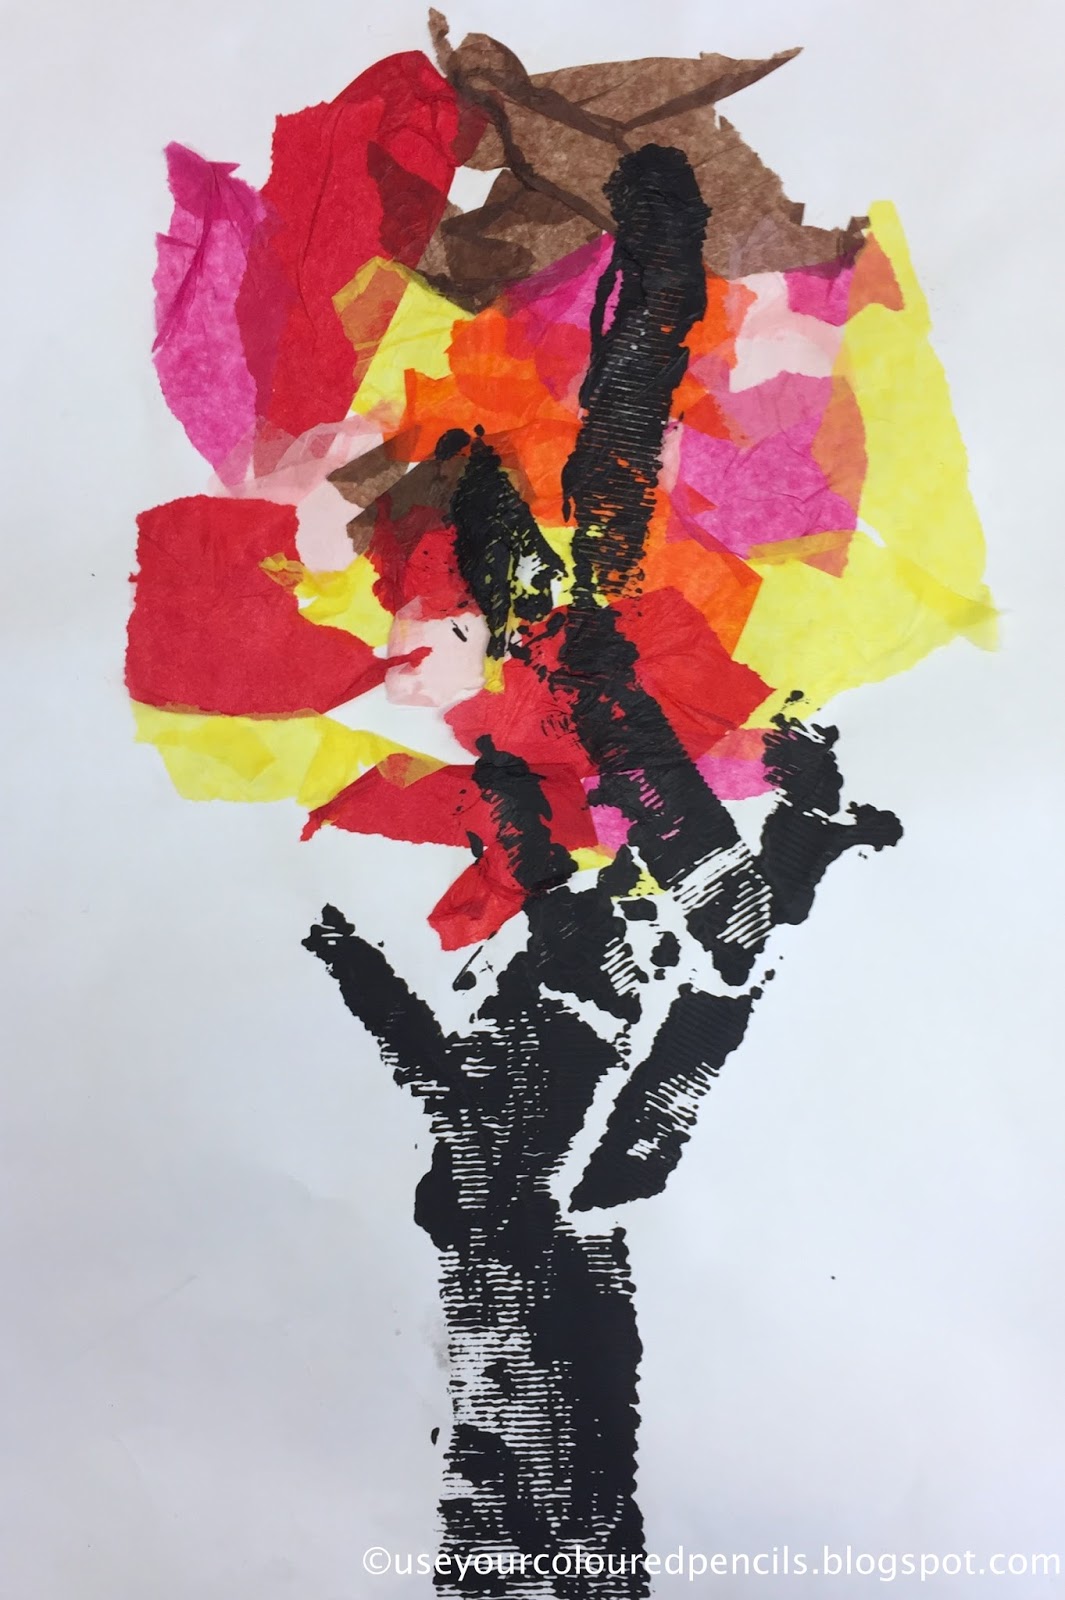
Tree Collagraphs

I have completed Autumn tree collages with students before (see HERE and HERE) however this time I have added a print-making element which also adds more texture. 

We began by drawing a large circle on the top half of our paper. This acted as a guide for creating the foliage. Students were given the option of many pieces of coloured tissue paper and were asked to use only the warm colours for their collage. They tore their paper into small pieces and glued onto their paper, overlapping to create new shapes and colours. We then brushed a thin paste over the collage to smooth down any bumps. Students were then given cardboard in many different thicknesses and textures and asked to create a separate collage on a piece of white card. This time they would cut and glue down cardboard pieces to create only the tree trunk. I told them to think of building a large capital letter 'Y' and building on from there. 
Once both collages were complete, students painted their tree trunk using a thick black acrylic paint, lay it face down onto their tissue paper collage and created the final print. Using a collage to make prints in this way is called a collagraph. I think they turned out beautifully!


Oct 15, 2016

Paper Plate Flower Collages


My inspiration for this project came from this post at 'Pink Stripey Socks'. They had used four paper plates cut into flower shapes of decreasing size and stapled together. I gave students two paper plates each and one small circle of thick paper for the smallest shape.

I began by asking grade one students to fold their plates in half and drawing a simple pattern of petals around the edge of the semi-circle. They then cut through both layers of the plate (which proved a little difficult for some tiny hands who needed assistance) and unfolded to reveal the whole circle. Once they had cut their three circles, we stapled them together and the children used bright coloured tempera paints to paint their flowers.
Once dry, they also used oil pastels to add more colour and detail and scrap pieces of coloured paper to add leaves and stamen to their flowers. 
They were all quite different and look fantastic displayed together!


Feb 7, 2016

Ice Cream Cones in Tints and Shades

Here's my version of a project that has been doing the rounds on Pinterest for quite some time. You can see another great example of this here project at 'Splats, Scraps and Glue Blobs'.

I had my grade four students fold a sheet of A3 paper into eighths, and after demonstrating how to create both tints and shades of a colour, students painted one section of their page in their chosen colour and filled the other boxes with graduating tints and shades.

Once the painting was complete, students drew a shape to represent a dripping scoop of icecream onto one of their boxes of colour. They then cut out this shape and used it as a template to draw and cut the same shape from each coloured box.

What I really liked about this project, other than the fun topic is that it incorporates painting and collage. I gave each student a long strip of white paper and asked them to layer all their scoops on the page from lightest tint to darkest shade. They were then able to glue the pieces down I gave them the option of drawing or collaging details such as the icecream cone and any decorations such as cherries and sprinkles etc.
 

Related Posts Plugin for WordPress, Blogger...