Showing posts with label colour theory. Show all posts

Apr 7, 2018

Leaf Paintings in Tints and Shades

 
This lesson was inspired by the leaf paintings featured here at Paul J. Gelinas Junior High School.
My grade 4 students created our version of these paintings by drawing a large outline of a leaf on their page using pencil. They then divided the shape using one central line and then used lines to create smaller areas of shape. 
Students were then asked to choose one colour paint of their choice as well as black and white and then painted the divided areas using as many tints and shades of their chosen colour as they could mix. Once painted they used a thick black marker to retrace all their lines before cutting out their leaf and gluing to black card. I love the way these turned out, they remind me of stained glass windows.

Warm and Cool Landscape Drawings

 
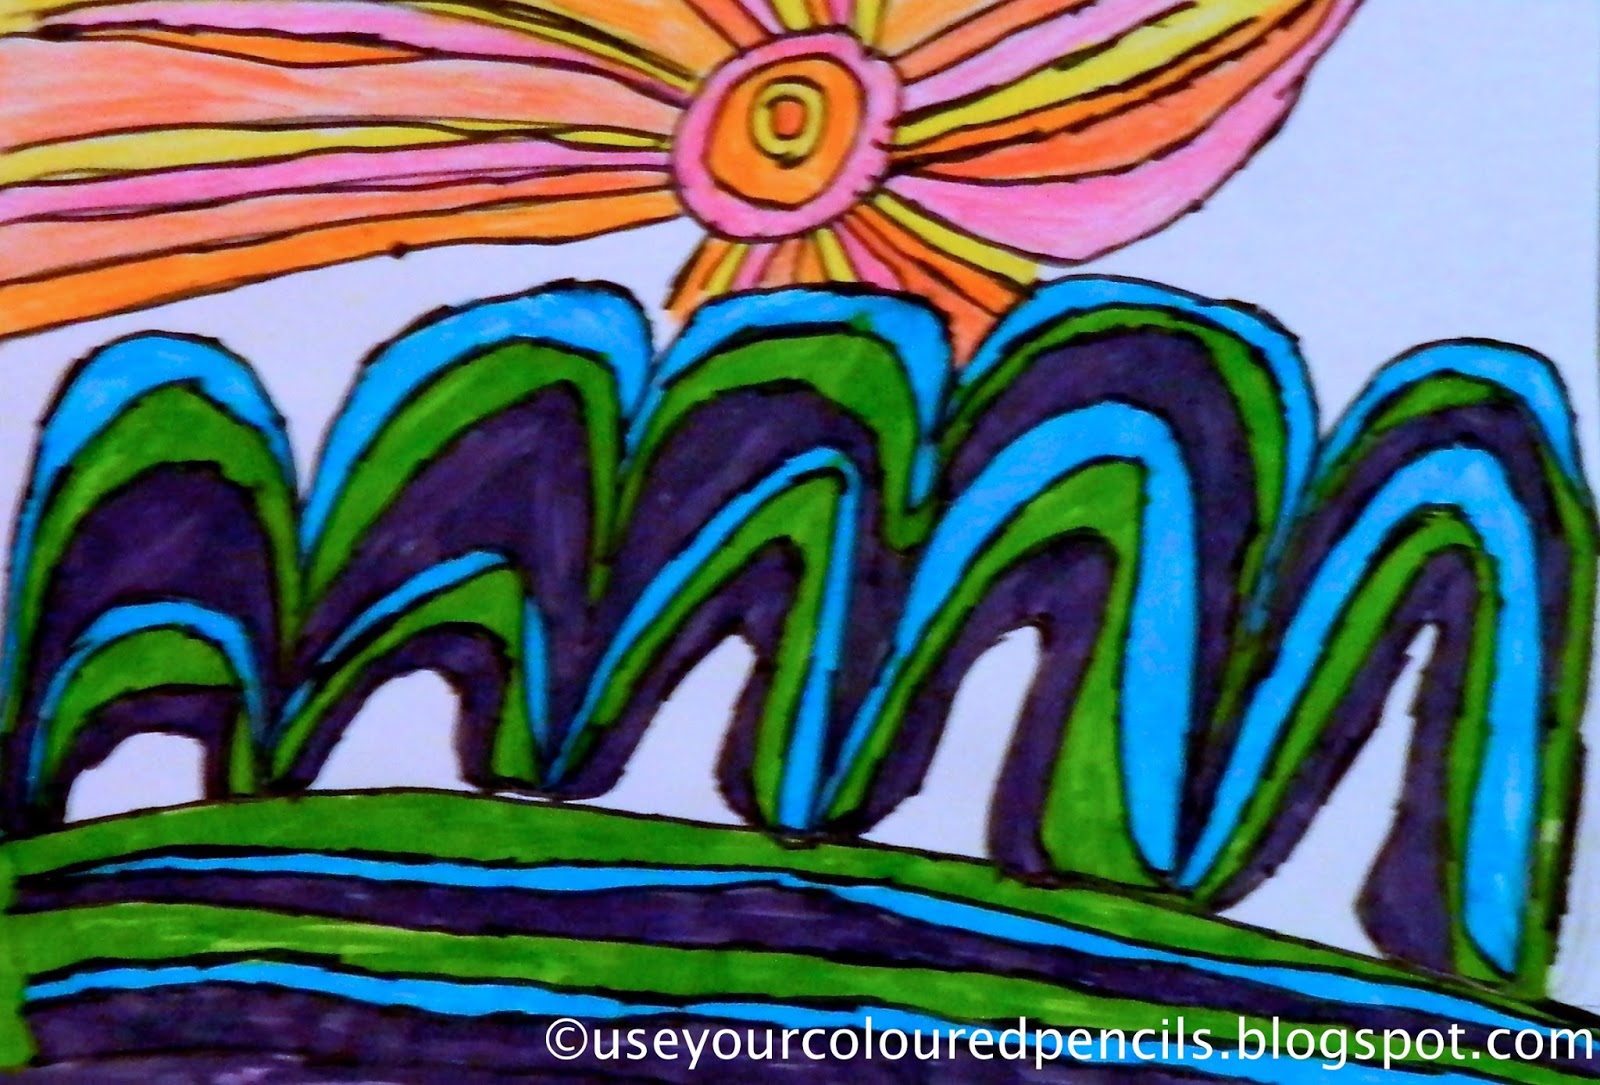
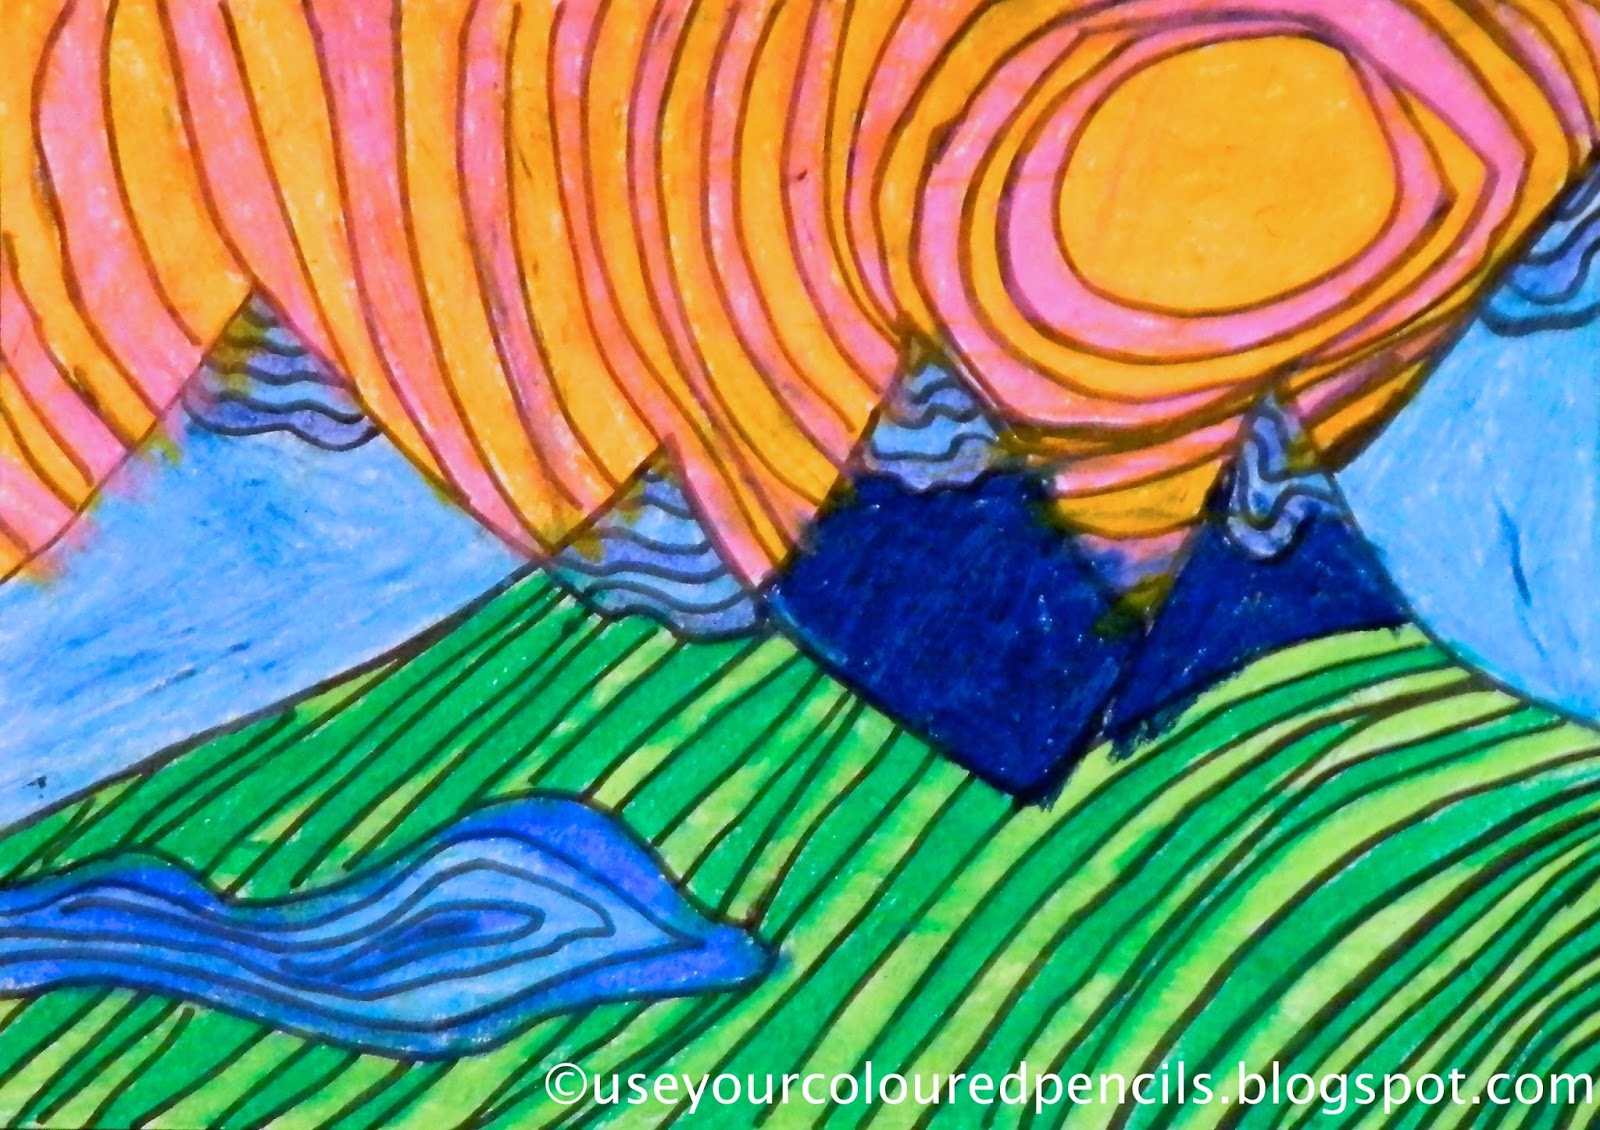
These landscape drawings were created by grade 3 students. We discussed different types of landscapes, the difference between warm and cool colours and different line types they could explore. Students then created their drawings in pencil, outlined in fineliner and used coloured textas or markers to add colour.


Jul 9, 2017

Tree Collagraphs

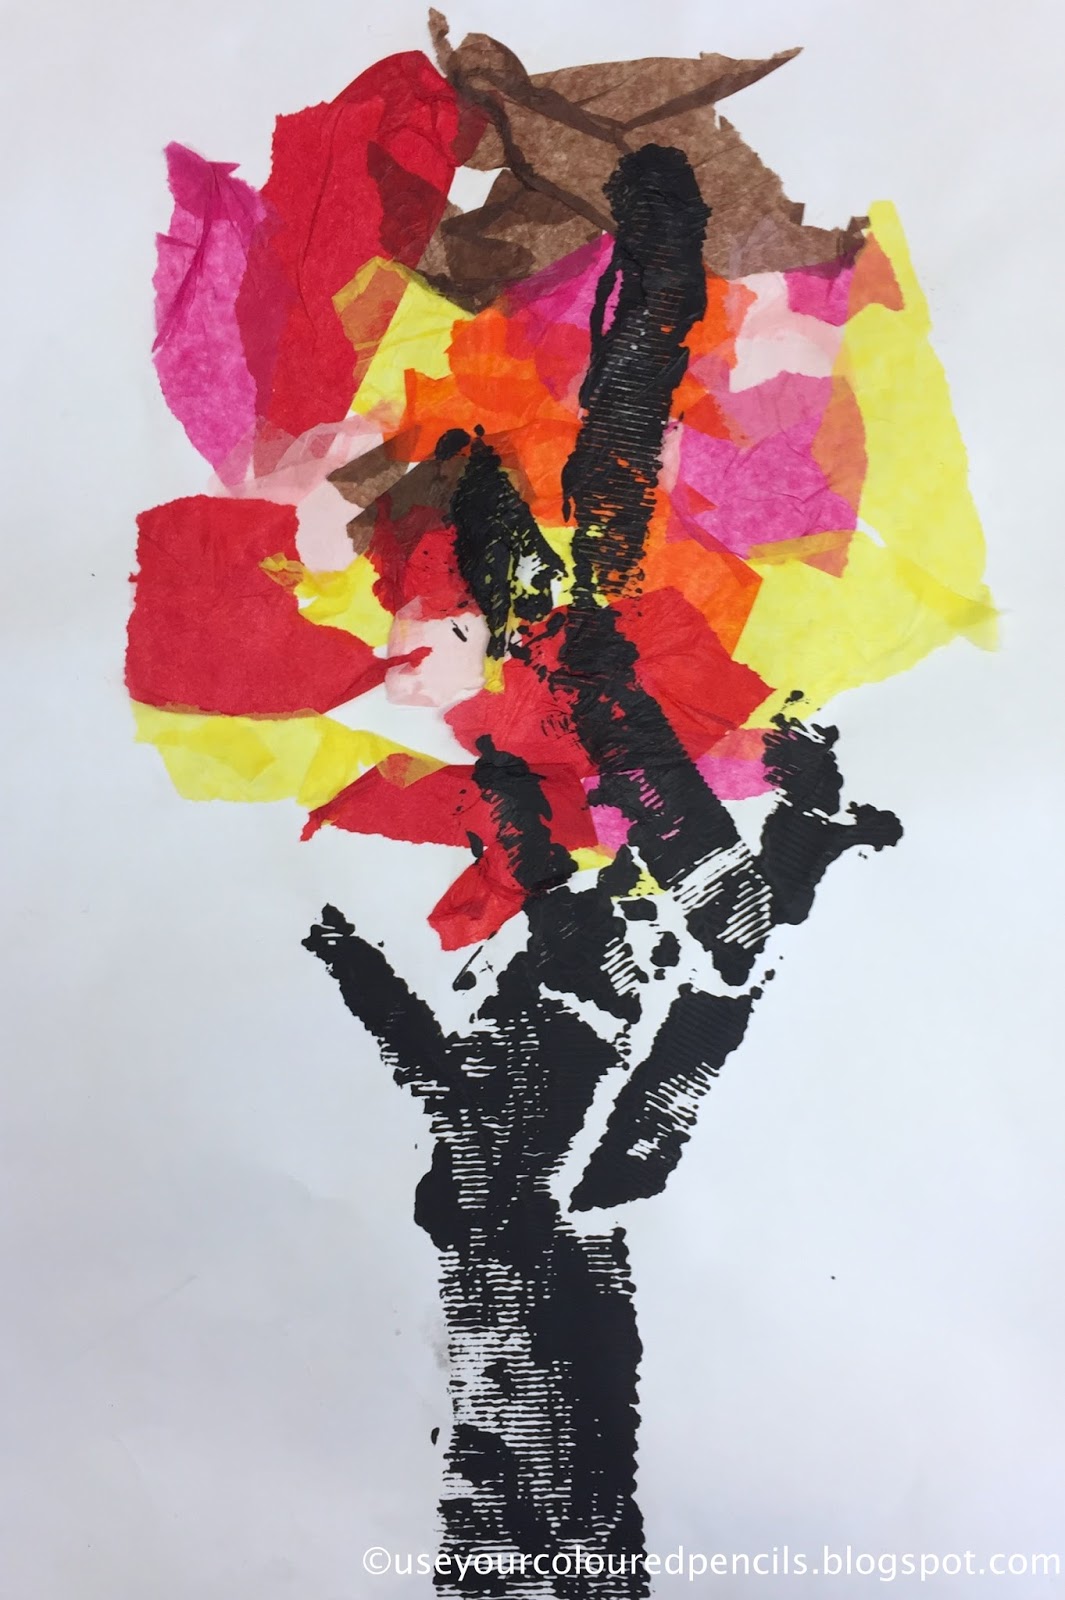
I have completed Autumn tree collages with students before (see HERE and HERE) however this time I have added a print-making element which also adds more texture. 

We began by drawing a large circle on the top half of our paper. This acted as a guide for creating the foliage. Students were given the option of many pieces of coloured tissue paper and were asked to use only the warm colours for their collage. They tore their paper into small pieces and glued onto their paper, overlapping to create new shapes and colours. We then brushed a thin paste over the collage to smooth down any bumps. Students were then given cardboard in many different thicknesses and textures and asked to create a separate collage on a piece of white card. This time they would cut and glue down cardboard pieces to create only the tree trunk. I told them to think of building a large capital letter 'Y' and building on from there. 
Once both collages were complete, students painted their tree trunk using a thick black acrylic paint, lay it face down onto their tissue paper collage and created the final print. Using a collage to make prints in this way is called a collagraph. I think they turned out beautifully!


May 29, 2016

More LOVE

image via turbosquid.com
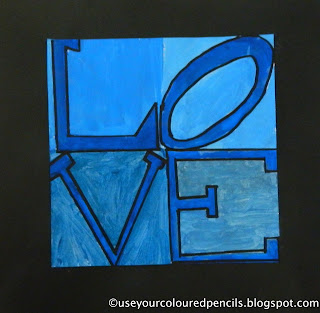
A few years ago I had my students paint their own version of pop artist Robert Indiana's iconic sculpture 'LOVE' (1970). You can see the previous results HERE. After folding a square piece of paper in half twice to achieve four equal sections, students were asked to sketch in the lettering as best they could. This time I made it an exploration of value, asking students to choose any colour to paint the letters and then to use white and black to create two tints and two shades of their colour for the background. Black marker was used to outline once complete. Obviously I am very late in posting this, but this is a great project to do in time for Valentine's Day.

 
Related Posts Plugin for WordPress, Blogger...