Showing posts with label texture. Show all posts

Jan 21, 2018

Clay Fish Sculptures


This is a simple sculpture project my grade ones completed a while back. We used Model Magic in order to complete all the sculpting in one day. Although I don't use this product often, this air drying modelling material does allow students to model, add textures and to press bits like the shells, pipe cleaners and googly eyes directly into the clay. The next lesson we were able to paint using tempera paints and enhance details with permanent marker.
 

Jul 9, 2017

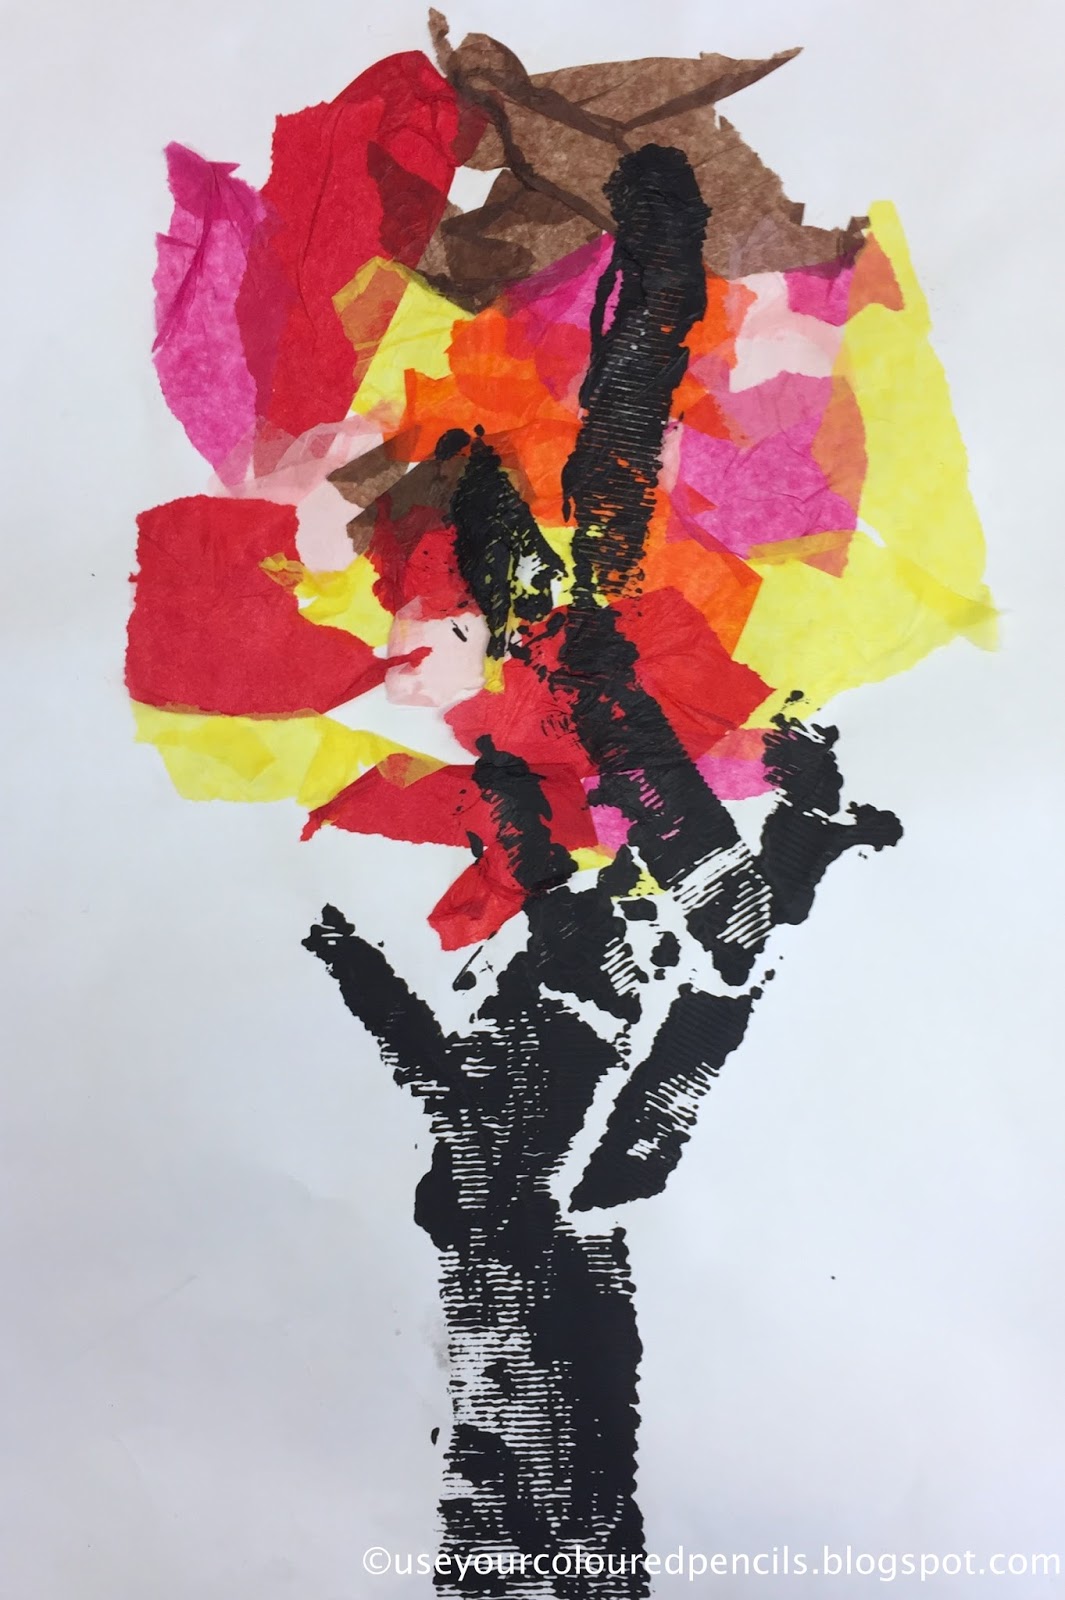
Tree Collagraphs

I have completed Autumn tree collages with students before (see HERE and HERE) however this time I have added a print-making element which also adds more texture. 

We began by drawing a large circle on the top half of our paper. This acted as a guide for creating the foliage. Students were given the option of many pieces of coloured tissue paper and were asked to use only the warm colours for their collage. They tore their paper into small pieces and glued onto their paper, overlapping to create new shapes and colours. We then brushed a thin paste over the collage to smooth down any bumps. Students were then given cardboard in many different thicknesses and textures and asked to create a separate collage on a piece of white card. This time they would cut and glue down cardboard pieces to create only the tree trunk. I told them to think of building a large capital letter 'Y' and building on from there. 
Once both collages were complete, students painted their tree trunk using a thick black acrylic paint, lay it face down onto their tissue paper collage and created the final print. Using a collage to make prints in this way is called a collagraph. I think they turned out beautifully!


May 29, 2016

More Clay Treasure Chests

Here's another project that I returned to recently after first completing with grade twos 6 years ago. You can see my post about the original project HERE. This time I gave the project to my grade three group and made a few changes to the final decorations. 

Over several lessons, students used slab construction techniques to create a rectangular box with a curved lid. They added details of their choice such as locks, keys, handles and used clay tools to engrave texture into the clay. This is a great project for exploring texture as students are challenged to get that 'centuries old wood grain look' 

Once fired, I had students rub over their treasure chest with crayons in shades of brown or green, in order to pick up and enhance the texture. We then painted the clay with brown edicol dye (for those non-Australians - this is a type of strong dye made from food colouring). Alternatively, you could use a watered down brown ink or brown watercolour paint. Students were then given metallic paints to paint the details they wanted to look like metal. 

Fill with small sequins, rhinestones and seashells for display!!

Related Posts Plugin for WordPress, Blogger...